
Getting Started
Welcome to Cloud Counsel. Here's how to get up and running quickly.
Signing In
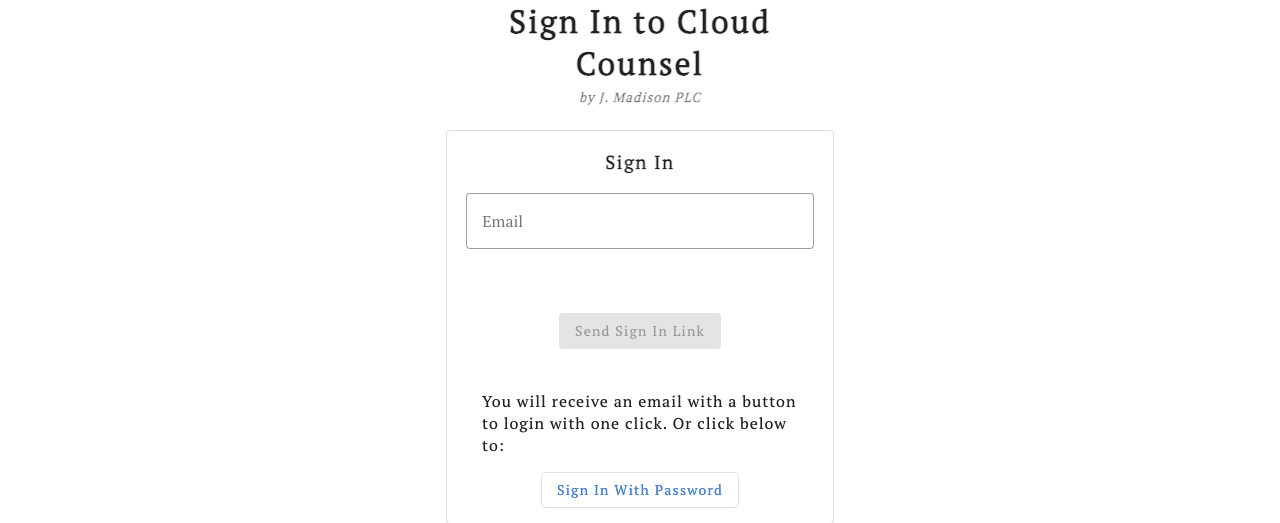
You can sign in using the email link sent to you by the firm. Click the link in the email, and you'll be signed in automatically. If you've used the platform before, you can sign in from the Sign In page using your email and password.
Conflict Check Intake
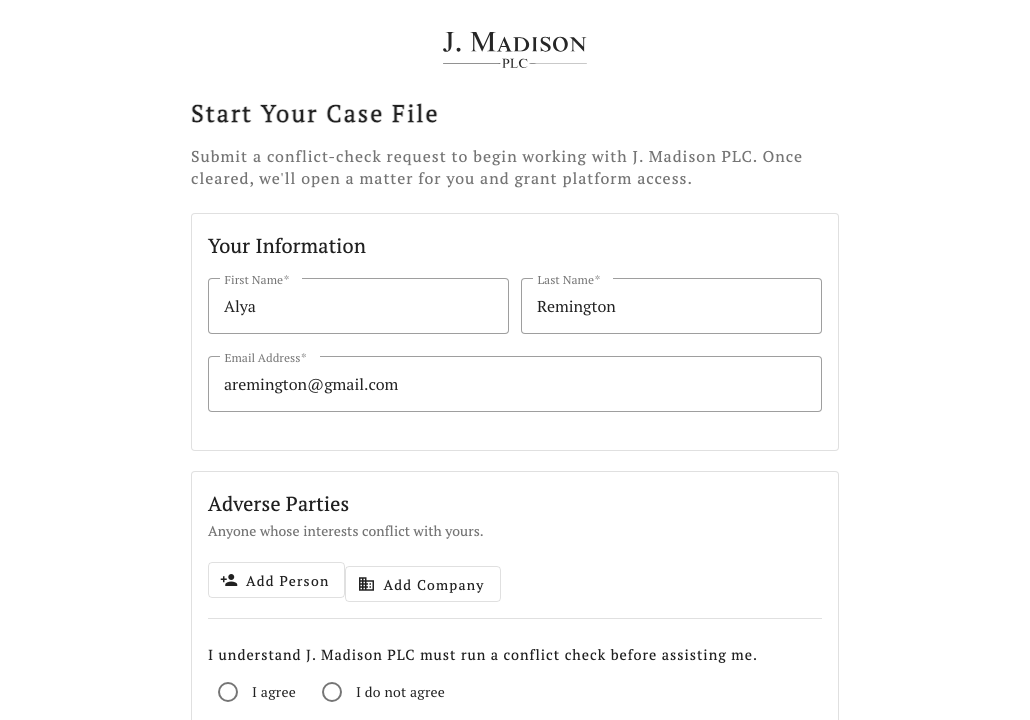
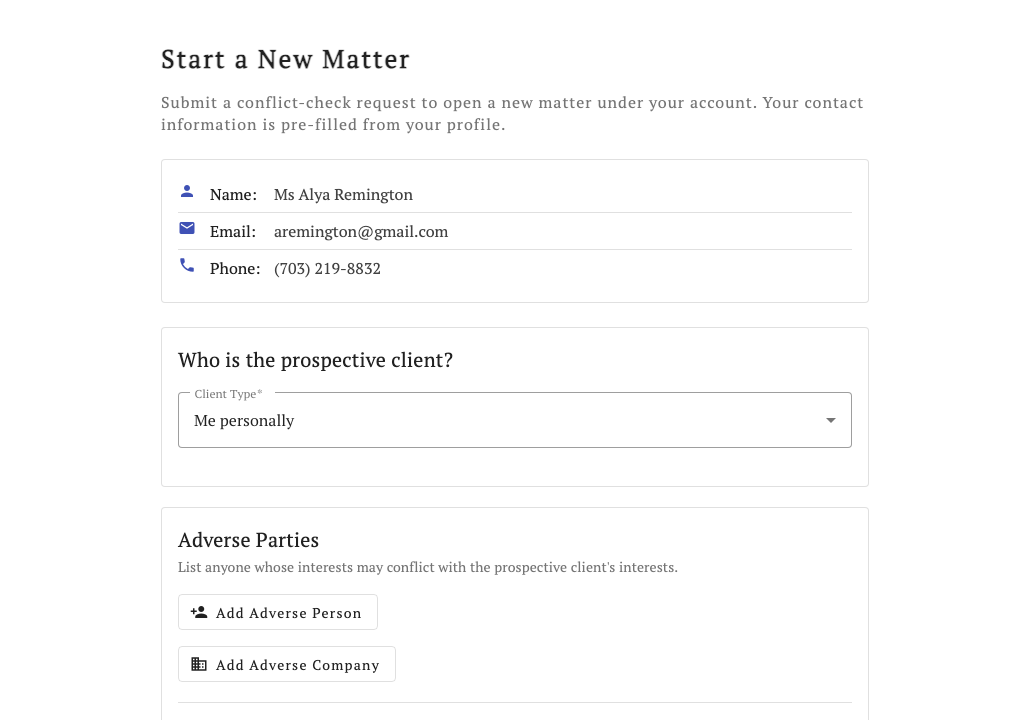
Before a matter opens, you complete a short conflict-check form. If your situation involves someone on the other side, you must name each adverse person or company — answering “yes” without listing anyone will not submit. Also provide a rough location (U.S. state or territory, or Outside the United States with the country in the city field) for yourself and each adverse party so the firm can tell similarly named people or offices apart. This is for identification only, not to decide eligibility.
Your Onboarding Checklist
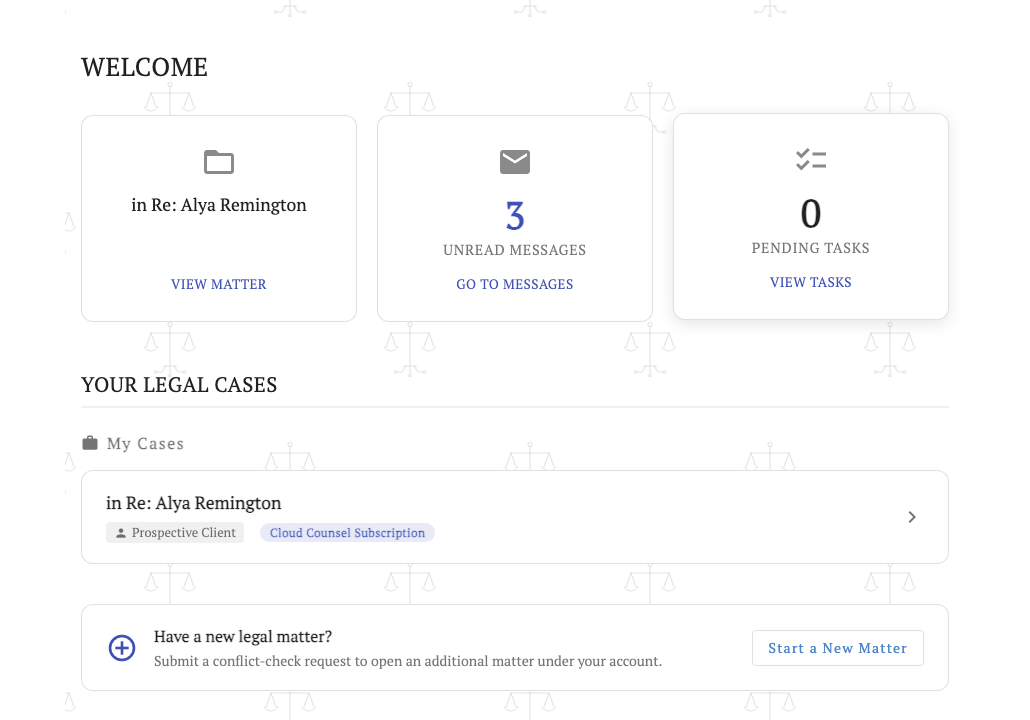
When you open your matter dashboard, eight case-file cards sit at the top — People, Organizations, Documents, Timeline, Goals, Concerns, Damages, and Proceedings. Below them, a Getting Started checklist walks you through everything you need to do, one step at a time, and updates automatically as you complete each task.
Your first tasks will typically include:
- Tell us about your concerns — use the My Legal Concerns tab to describe, in your own words, what happened that felt wrong. No legal terminology needed.
- Add a timeline event — describe the key incident(s) that brought you here, with dates and details.
- Add your contact information — your mailing address and phone number so the firm can reach you.
- Sign your agreement — we'll send you the Cloud Counsel Client Access Agreement to activate your case file tools.
- Request a meeting or service — book a Legal Assistant case-development session or an attorney consultation from "Request a Meeting or Service" on your dashboard anytime.
Each tool in the portal is specialized: My Legal Concerns for what happened that felt wrong, Timeline for events in chronological order, Locations for physical and electronic venues, Documents for evidence, and People/Organizations for identifying who was involved. Building a complete case file in each tool is the best way to get the most from Cloud Counsel.
Building Your Case File
Once your immediate need is addressed, the checklist expands into a Build Your Case File section. This is where Cloud Counsel really shines — you can:
- Add events to your Timeline so the firm has a clear picture of what happened.
- Identify people and organizations involved in your situation.
- Upload documents that support your case.
- Describe your concerns — things you think may be legally significant.
The more detail you provide, the better your legal team can evaluate your situation and pursue the best outcome. Building your file is also how an Emerging Claims Snapshot becomes available on your matter dashboard. You will get a one-way notice from J. Madison PLC when a snapshot can be unlocked.
Earning Awards
As you complete onboarding steps and build your case file, you'll earn milestone awards. These are displayed in the checklist and in your Awards gallery. They're a fun way to track your progress and make sure nothing important gets overlooked.
Navigating the App
The sidebar (or menu on mobile) gives you access to every section. Here's what you'll find:
- Dashboard — your portal home. A badge here rolls up unread messages, open tasks, and agreements waiting for your signature.
- Messages — communicate securely with your legal team through conversation threads.
- Tasks — see items that need your attention, such as completing your profile or signing an agreement. The badge opens your open-task queue.
- Account — update your contact information, profile photo, and security settings. An exclamation badge means your profile is incomplete.
- Billing — view invoices, make payments, and manage your payment methods.
- Plans & Pricing — Cloud Counsel Access (free) plus pay-as-you-go Premium AI: Case Strength Report, Wigmore Conversations, and AI Document Review.
- Agreements — review and sign legal-services agreements. A badge appears when a signature is still needed.
- Help — browse help articles organized by topic.
Inside a Matter
When you open a matter, you'll see tabs across the top for each section: Dashboard, Proceedings, Timeline, People, Organizations, Locations, Documents, Contracts, and Billing. Your onboarding checklist will guide you to the right section at the right time.